


Imagine a simple tool that stops small drips from turning into huge home disasters. When you find a leaky or water-damaged pipe, fixing it fast is key. In such moments, knowing what to do and having the right tools is crucial. It can save you from a costly repair.
Pipe leaks often come from cracks, breaks, or loose nuts. It might not always be clear, but a U-shaped pipe, or P-trap, is sometimes to blame. If its nut is loose, a wrench can tighten it up. This could stop further damage.
Make sure the pipe and fittings are dry before sealing them. Everyone should have plumber’s tape, silicone tape, and epoxy putty for sudden fixes.
Key Takeaways
- Common pipe leaks sources include cracks, breaks, and loose coupling nuts.
- The P-trap can often cause leaks if its coupling nut is loose.
- Using a wrench to tighten the nut can often fix a leaking pipe.
- Ensure pipes and fittings are dry before applying any sealant or adhesive.
- Tools for emergency repairs include plumber’s tape, silicone tape, and epoxy putty.
- Permanent solutions may require professional plumbing services.
Identifying a Water Damaged Pipe
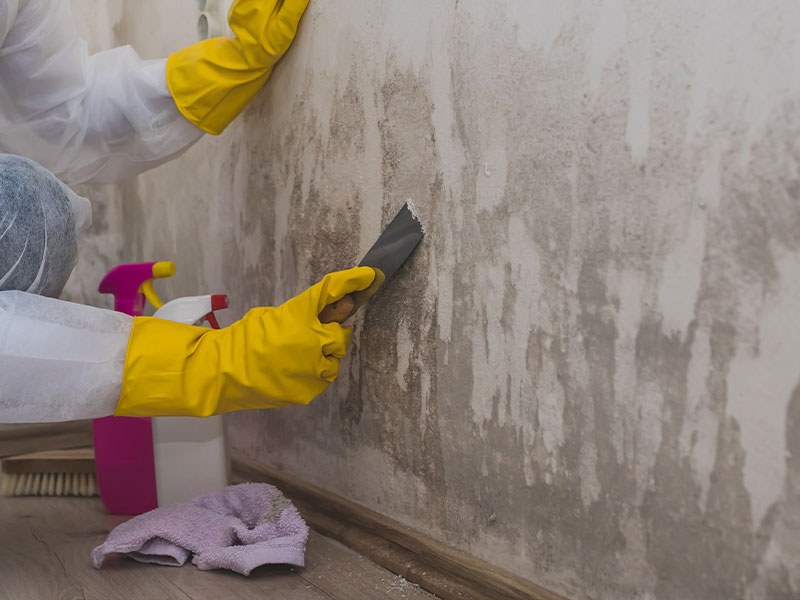
Water damaged pipes may show a few clues. You might see leaks, spots where moisture collects, or damp areas on walls and ceilings. It’s key to spot these signs of water damage early to fix things before they get worse. For leak detection, watch for water marks or wet walls as they’re big tips.
Most water damage comes from leaks in pipes or fixtures. It’s important to find and fix these fast. To locate the issue, closely look at the area. A moisture meter can help, or you can watch for certain signs.
Water often pools right under where the leak is. Look for wet walls or water stains. If there’s water under a sink or in a wall, it could show the problem area. Quick action can cut down on how much damage there is. This helps with finding leaks faster.
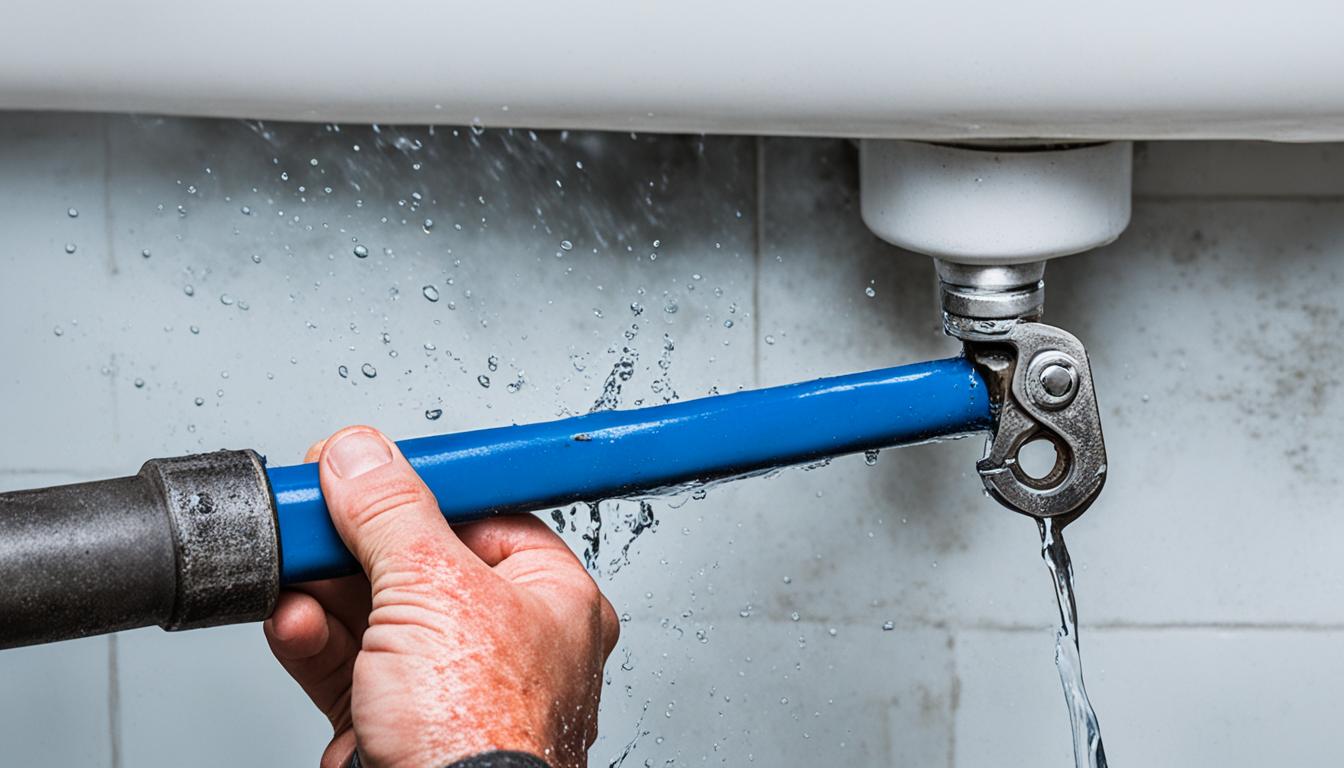
Shutting Off the Water Supply
The first thing to do when you have a plumbing problem is to turn off the water. Use the water shut-off valve for this. This step is very important to prevent more damage. It’s also a vital part of any emergency plan for plumbing.
You can find water valves in many places around the house. They’re usually under sinks and by toilets. If you need to, the water shut-off valve might be outside near the water meter. To stop the water, turn the valve off or use a tool like a flathead screwdriver.
Main water valves are often in common areas like the kitchen or bathroom. When you turn off the water, be sure to open the faucets too. This lets any leftover water drain out and stops more leaks.
Doing these steps right can prevent a lot of damage. By correctly turning off the water and letting pipes empty, you lower the risk of harm. It also helps you get ready to deal with the main plumbing issue.
How to Use Plumbers Tape Effectively
Plumbers tape is key for sealing small leaks temporarily, mainly on pipe threads and fittings. It works well when used right to stop those leaks from happening.
- First, disconnect the pipes and move the P-trap if needed to reach the leak.
- Then, wrap the tape around the pipe threads. Always follow the instructions for best results.
- After applying the tape, reconnect everything. Make sure the nuts are tightly secured.
- Test the seal by running water. Check to see if there’s any leak.
Using plumbers tape correctly makes a strong seal on threads, stopping water from leaking. Adding a joint sealant can make this even better. Always being careful and checking can help you maintain your plumbing system well.
Using Epoxy Putty to Fix Leaks
Epoxy putty is a moldable fix for pipe leaks. It forms a tight seal once hard. It’s great for quick fixes when a pipe leaks.
First, turn off the water and dry the pipe. This helps the putty stick well. Then, shape and mix the putty thoroughly.
- Leak repair with epoxy putty begins by cleaning the pipe thoroughly to remove any dirt or grease.
- Apply the kneaded putty to the crack or hole, pressing it firmly to ensure the pipe putty adheres correctly.
After applying, let the putty dry following the instructions. It will become a tough seal. Remember, this fix is only temporary. You should plan to repair the pipe for good later on.
Temporary Fixes: Silicone Tape and Clamps
Homeowners dealing with a sudden pipe leak can find comfort in temporary fixes. Silicone tape, when tightly wrapped around a leaking pipe, forms a strong barrier. It’s easy to use and perfect for small leaks.
For bigger leaks, repair clamps with neoprene patches are a lifesaver. Just ensure they’re securely tightened over the damaged area. This can control the leak until a lasting fix is in place.
Silicone tape and clamps act as quick, but temporary, solutions for leaks. They’re especially handy when a plumber can’t come right away. For a short while, they provide some relief and stop the water damage.
- Stretch and wrap silicone tape around the leak for a tight, waterproof seal.
- For larger breaks, use repair clamps with neoprene rubber patches.
- Ensure clamps are tightened evenly for effective sealing.
These quick fixes are must-haves for any homeowner. They bridge the gap until a professional can permanently repair the pipe.
Verifying and Testing the Repairs
After fixing a leaky pipe, it’s critical to check for leaks. Turn the water back on slowly. It’s important to watch closely for any signs of water where you fixed it.
Keep an eye out for wet spots around where you applied epoxy putty or clamps. A good check means finding no new water where it was fixed. Checking the job right after you finish is smart. It makes sure your repair is holding strong.
- Turn the water supply back on.
- Carefully monitor repaired areas for moisture or leaks.
- Inspect the edges of epoxy putty and clamp contact points closely.
- Ensure no leaks are present when water flows through the repaired areas.
Conclusion
Temporary fixes like plumbers tape and silicone can quickly handle leaky pipes. Fixing water-damaged pipes early saves both time and money. It also protects the home from more harm.
After a quick fix, it’s crucial to have a pro check and do any needed long-term repairs. Keeping a good toolset at home helps homeowners deal with small problems.
How to Fix a Pipe: Comprehensive Guide
Starting to fix a pipe the right way means knowing exactly where it’s damaged. Look for clues like leaks, wet spots, or noticeable moisture. Then, turn off the water using the nearest valve. You might use either the local or main shut-off valve. Next, use the sealants or clamps we talked about earlier to make a quick fix.
It’s important to keep the area clean and dry first. Always read and follow the product instructions carefully for the best results. After fixing the pipe, turn the water back on gently and watch for any leaks. Pay attention to the edges of the repair, as they might show future leak spots.
Fixing pipe damage fast can stop big issues later on. These quick solutions can be a big help at first. But, for bigger problems, it’s best to get a pro’s opinion. This will make sure the plumbing is really strong and won’t cause trouble again.